Friday, May 27, 2022
Suspended Book Fold Card
Today I have made a Suspended Book Fold Card following a tutorial by Iced Images. She also has the original design of this card. It is not a particular difficult card to make, however, it does come off as quite a striking card.
I decided to use papers from the Ocean Tale collection from Craft Consortium, a company that has tons of gorgeous collections! Some of which I have made cards with before, as well.(Triple Stepper Card using the Little Fawn and Friends Collection, a Slimline Concertina Card also using the Little Fawn and Friends Collection, a Shadow Box Card using the At Home in the Wildflowers Collection, and a Letter M Gift Box using the Circus Collection).
The papers I chose today was from the 6" x 6" paper pad, and I did this mainly because I felt that I would be able to show of more of the patterns in the stunning papers that are designed by Clare Therese Gray.
The collection comes with a variety of things besides the papers, and amongst the embellishments are some beautiful woodshapes. I chose one of them, a blue whale, to be the star of my card. In addition, I stamped a sentiment that I popped up on some acetate, above the whale.
The only thing I changed from Iced Images´ original design, was that I made an actual 5" x 7" folded card base, instead of just a card front. That way I have an inside where I can write my message. Instead of leaving the inside of my card blank, I stamped and heat embossed a couple of whales and a sentiment, just for some decoration.
The card is supposed to fold flat for mailing. I did, however, kind of ruin that by putting my front sentiment popped up on acetate. Because the acetate is somewhat flexible, though, I think it will be ok to push the sentiment down onto the card front, if I decide to mail it to someone. Because of the acetate, it will probably "pop up" (with a little persuation) close to it´s intended shape once it is taken out of the envelope again.
I will definetely be making more cards using Craft Consortium´ gorgeous Ocean Tale collection!
Here is the tutorial by Iced Images:
Thursday, May 26, 2022
Craftstash & CO
I have, for quite a while now, been shopping a lot of my paper crafting items from a store called Craftstash. Craftstash is based in the UK, and they offer a huge variety of craft brands, beside their own brand Creative Craft Products. They also have exclusive brands, like Sam Calcott´s "Made to Surprise", Lou Collins´ "Text(ures)", Helen Griffin´s "Simply Made Crafts" and Clare Rowland´s "Daisy Mae Design", just to mention a few.
Recently they have also started something they call Craftstash & CO, where they present a new upcoming designer each month, and gives them a chance to share their own exclusive and limited edition collections. So far they have had three of them, one of them being Marta Debicka, or "Drop of Sunshine" as she calls her Facebook Page, who has been designing her own papers for quite a while now. I like her papers, so I decided to purchase her collaboration with Craftstash & CO, called "On the Border".
I received my order the other day, and used the collection to make a couple of cards.
The first card I made was inspired by Marta´s own cards. She makes beautiful layered designs, using lots of flowers and other embellisments on her cards. The flower decorating the card is a stamp/die set from the collection, that I have stamped, colored and die cut.
For my second project, I decided to make a gatefold card, closed with a bellyband. The flowers decorating the bellyband, are fussy cut from one of the paper sheets in the 8" x 8" paper pack.
Inside I used one of the pocket dies from the collection to make a pocket in which I could stick an insert for writing. I used one of the border dies to decorate the insert.
On the back of the card I heat embossed "thankful for you", which can be found amongst the sentiment stamps. I also used more of the border dies for decoration.
To finish the card off, I decided to make a matching envelope from the collection´s 8" x 8" paper pack.
Her is a link to the Marta Debicka´s YouTube Channel: https://www.youtube.com/c/MartaDebicka
Wednesday, April 6, 2022
Double Z Fold Cards
This post is showing a card that is really easy to make; the Z Fold card. The one that I have made here is a double Z Fold, which means there are two Z´s making the base of the card.
Another, and even easier way to make a Z Fold, is to just have one Z as the base of the card.
It is really up to you how intricate or simple you want your Z Card to be. It all comes down to how you choose to decorate it. Type in Z Fold Card over at YouTube and you will see plenty of great ideas and examples of what is possible to do.
Here is a very short and simple tutorial of how to make the base for a Z Fold Card.
Tuesday, April 5, 2022
Milk Carton Gift Boxes
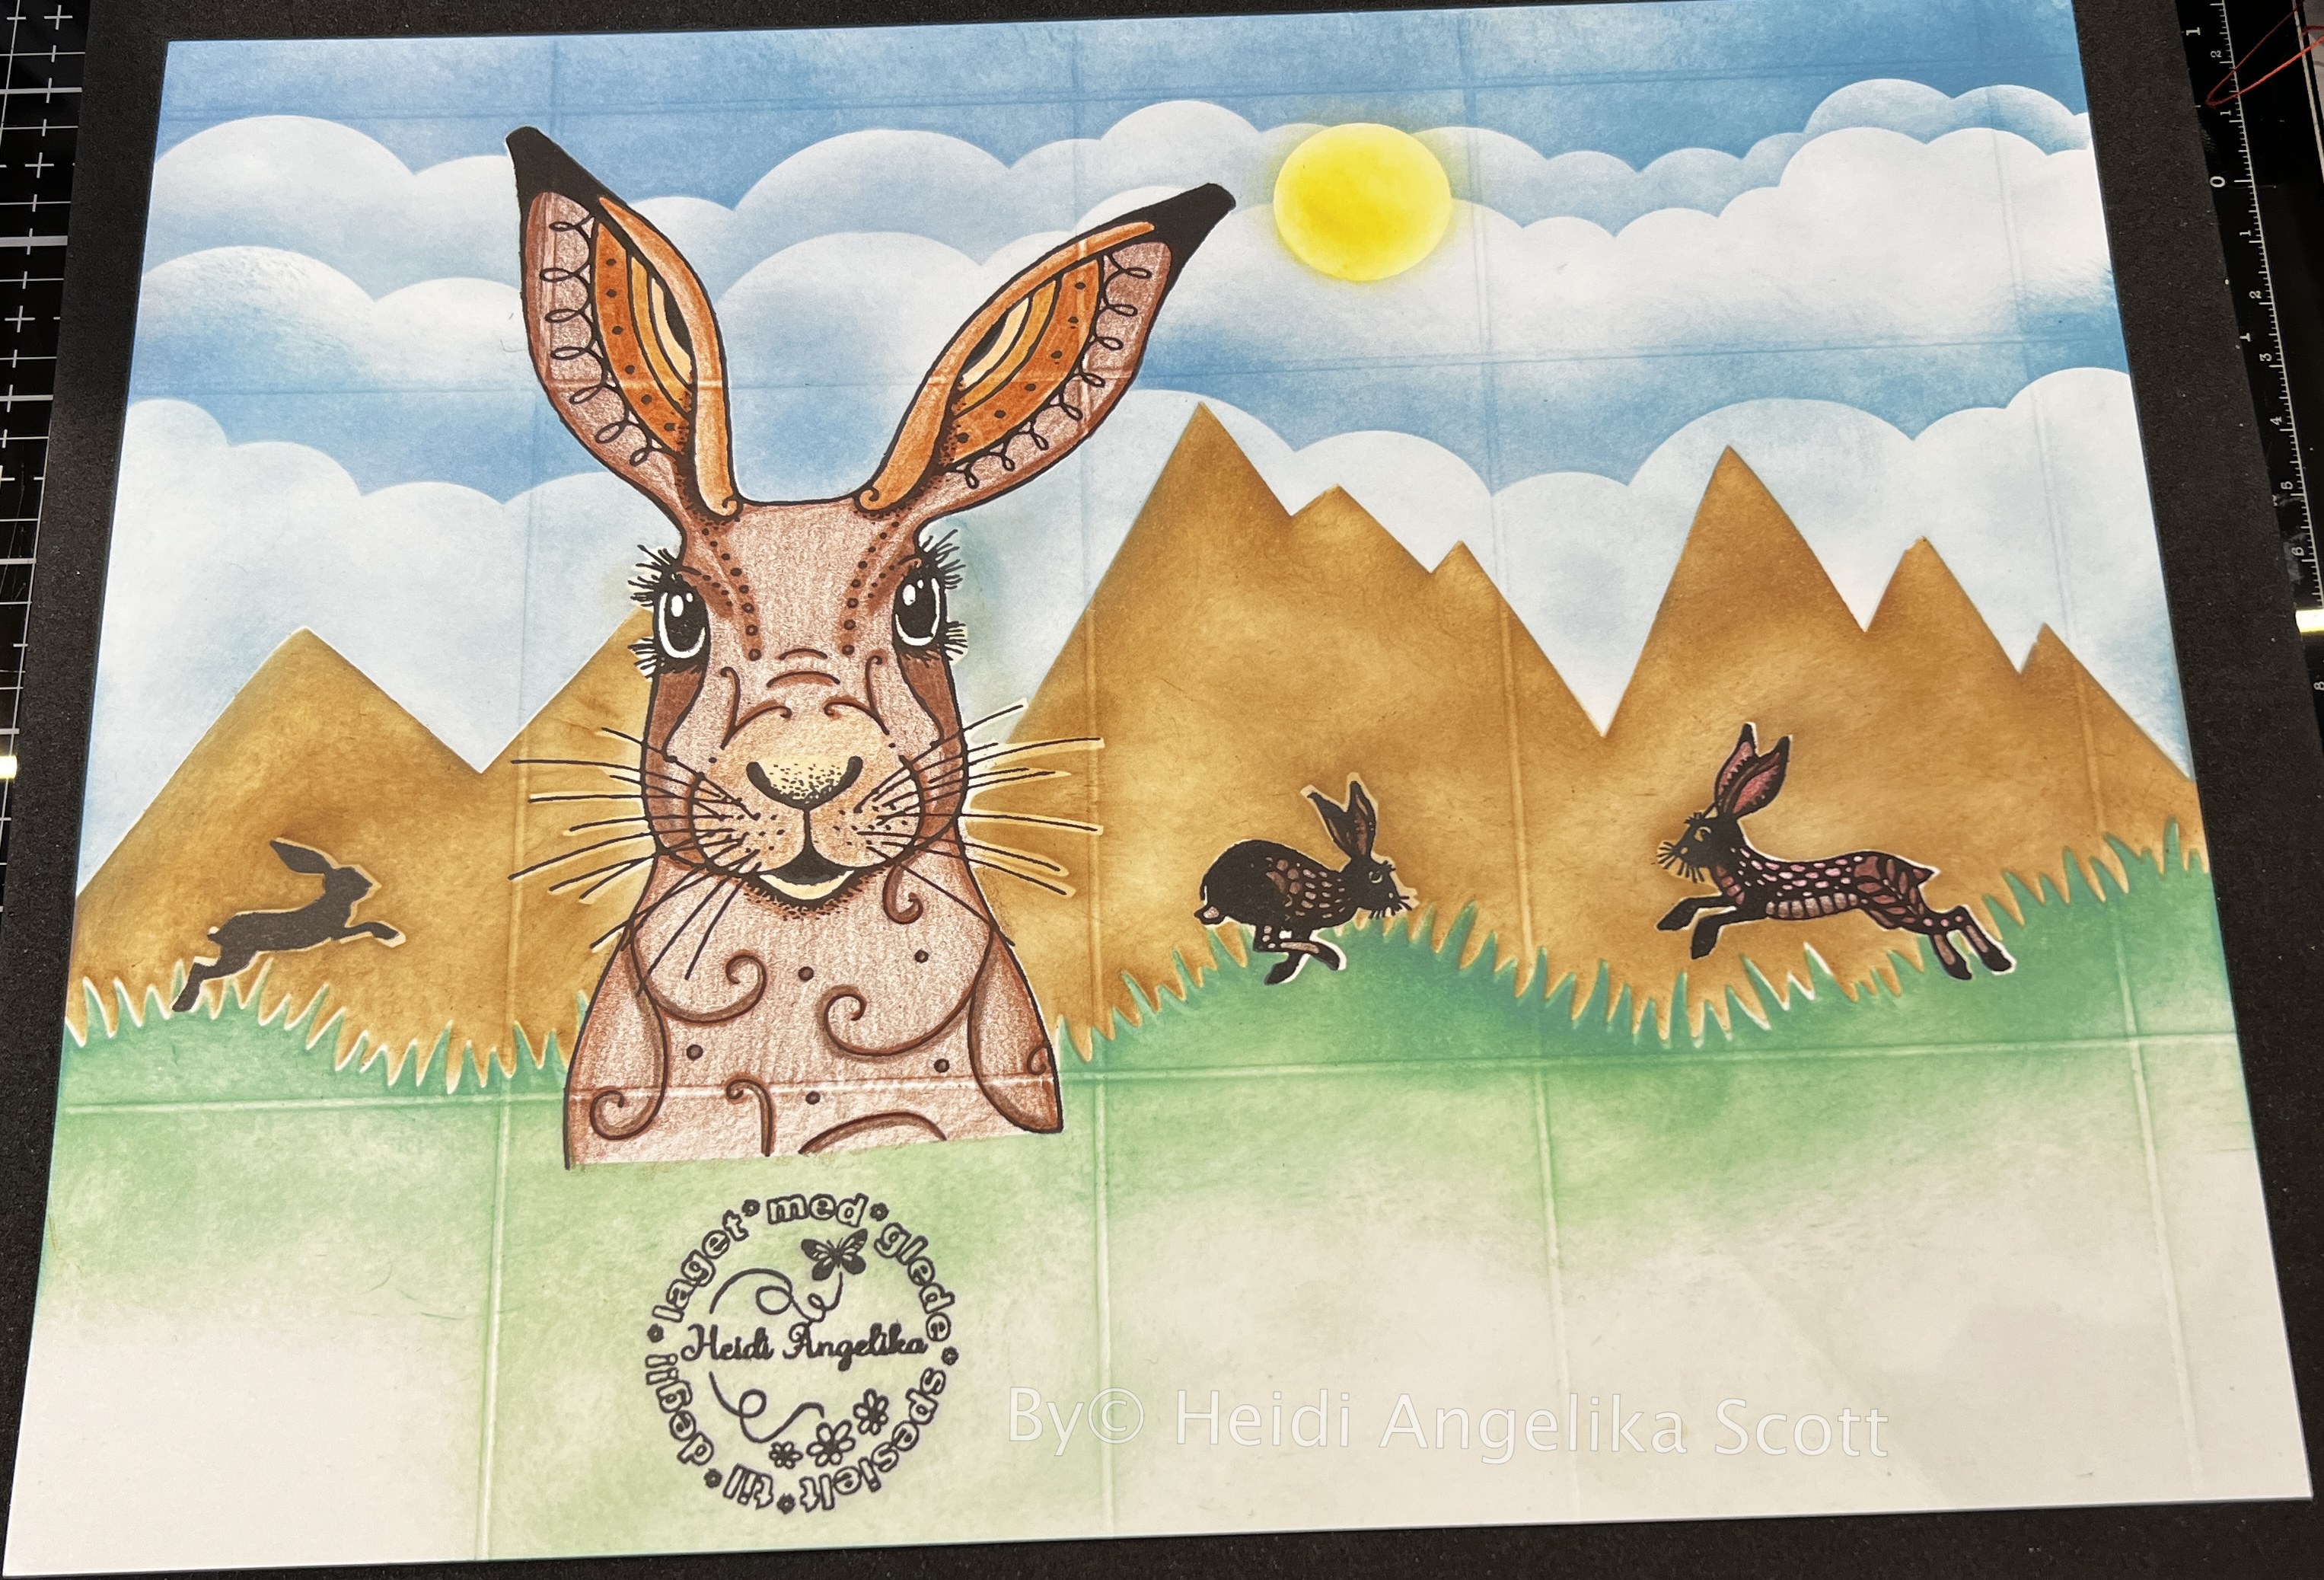
I had lots of fun this weekend making these two milk cartons! Planning the lay-out, stamping, masking, ink blending and coloring took quite a lot of time, but I enjoyed myself, which is what is important! And I actually love how they turned out☺️! Filled with chocolate, they will be a nice alternative to the more common candy-filled Easter Eggs.
There are tons of easy to adapt tutorials out there, and you can almost make it whatever size you want. I have made several Lidded Milk Cartons following one of The Paper Pixie´s easy to follow tutorials before. They are super cute, however, this time I wanted my cartons to be a little bigger, and I remembered that I had made one a while back, (you can see my blogpost about it here) crafting along with Sam Calcott on one of her Facebook lives. I used the same method of decorating on these two cartons, stamping an image, that I then masked, before ink blending my background. It is always so much fun to remove the masking and see the image pop out bright white amongst all the colors of the background! I then spent quite some time coloring in my main images.
For my backgrounds I used stencils from Lawn Fawn; the slimline cloudy stencils and the slimline grassy hillside stencils. I also drew and cut a mountain on a sheet of acetate, as I don´t have any mountain stencils.
Unfortunately I had forgotten that there was a small mistake in the live, when it comes to where to cut or not, so even though I love the results of my cartons, they were supposed to be whole/not cut at the top. Oh well, they work with the flaps, as well😃, and now I will most likely remember the next time I make one😉.
- Before cutting into the paper -
- After cutting -
- After gluing the sides together -
- Close up of the brown rabbit -
- The brown with the bottom folded and glued -
- Close up of the grey rabbit -
- The grey with the bottom folded and glued -
Sunday, April 3, 2022
Gift Card Tag Pocket
I love this little easy to make Tag Pocket! I first saw a picture of a similar one last weekend, at Bikubens VÃ¥rscrap, where it was one of the challenges offered. I have tweaked it a bit, as I prefer to work in inches, not centimeters, and I have made the tag into a gift card tag, instead of having it as a plain tag.
Here´s how to make it:
This is a quick template that shows the measurements. The left hand panel, as well as the right hand panel, are to be folded in over the middle panel, and unless the desired result is for it to be bulging, which you might want if your plan is to have a bulkily decorated tag, I would cut off about 1/8" on both sides. The 1/2" tab at the bottom is to be folded in under the side layers, to stop the tag from sliding through the pocket.
If you want to decorate the inside of the pocket, I would do that before glueing everything together. I just used the back side of the paper I wanted to decorate with, cut a piece measuring 3 3/8" x 5 7/8", that I glued on to the middle panel. Once you have cut off the top corners and glued the side panels over the middle panel, you need to make a layer for the front of your pocket. I did that by cutting another piece of the same patterned paper, measuring 3 3/8" x 5 7/8", that I put inside the folded and glued pocket. I drew faint pencil marks along my "V" shaped cut-out, and then I cut about 1/8" further in on my paper. This will give you a slight border around the edges.
The tag is made form a base of 3 1/8" x 6 1/2" piece of card stock with a layer of patterned paper that is the exact same size. I measured 1 1/16" in, and 1" down on both sides at the top, made marks, and drew pencil lines and cut. I also punched a hole and inserted an eyelet at the top of my tag, through which I threaded a piece of ribbon.
As I said, I wanted this tag to have a pocket to hold a gift card. This was made by using a scrap piece of my patterned paper measuring 3 1/4" x 3", scored on the 3 1/4" side at 1/2" and 2 3/4", and at the 3" side at 1/2". I ended up cutting away some of that bottom 1/2", to get rid of some bulk. I also cut wedges off each of the folds at the bottom, before I burnished and glued it in place. You need to decide how high, or low, you want the insert for the gift card to be. You might want the recipient to see that there is a gift card in the Tag Pocket, or you might, like me, not want to give it away right away.
Then all that is left is to do is to decorate both the tag, if you want to, and more importantly the front of the Tag Pocket.
I once again had a hard time settling on the final decoration, which has made me starting to take pictures of the options, that way I can go back between the alternatives and try to decide. You will see that the final card is actually the final decoration alternative.😂 That´s me for you.😃
- With no extra decoration -
- With a flower to the side of the sentiment -
- With the flower on the tag -
- With a metal butterfly on the tag holder -
I settled for the butterfly on the tag holder, and in addition I glued another butterfly on the tag itself, as well as a fussy cut , flower from the Maja Design paper that I had used, "Enjoying outdoors - Autumn picnic". I usually buy my Maja Design papers from Bikuben.
Subscribe to:
Posts (Atom)
Easy Fold-Over Cards
Lately I have been hooked on making a simple fold-over card, that you can easily make into a gift card/tag-pocket card. Once again...
-
Wiper Card for my boyfriend, now fiancé😉 I haven't been posting for a few weeks now, NOT because I haven't made anything, but simp...
-
I have wanted to make a card that would showcase some of the beautiful Graphic 45 papers that I have recently purchased. I have made a ...
-
I have always wanted to purchase monthly paper crafting boxes, but as I live in Norway and these boxes have to be shipped here from abroad, ...