Today´s cardstyle is a fold I have had on my "to make" list for quite some time now. I liked it from the very first time I saw it, but as I wasn´t able to sit and craft do to prolapses in my back at the time, I kind of forgot about it. The other day a fellow crafter posted her version of it, and I decided to make one as well.
The tutorial I originally saw on how to make this card, was by Sam Calcott from Mixed Up Craft, and it involved making several templates to get the layers right. I decided I wanted both a mat and a layer, and I ended up making yet another template. It took me a while to figure out how to best do it, but once I got the hang of it, it went fairly quickly.
I used digital papers for my patterened papers, and I spent quite a bit of time deciding which ones to use. In the end I settled on some sunflower papers that I purchased from LoveJunkJournals at Etsy.com. I layered that on top of a sunflower yellow mat. I chose black licorice from Lawn Fawn for my card base.
For the back of the card I decided to cut out a piece of white paper and ink up the edges with sunflower yellow ink from Lawn Fawn. The sunflower colored cardstock I used for my layer is also from Lawn Fawn.
I added a sentiment, some bees and sunflowers which were fussycut from my digital papers, and some adhesive enamel dots to finish off the front of the card.
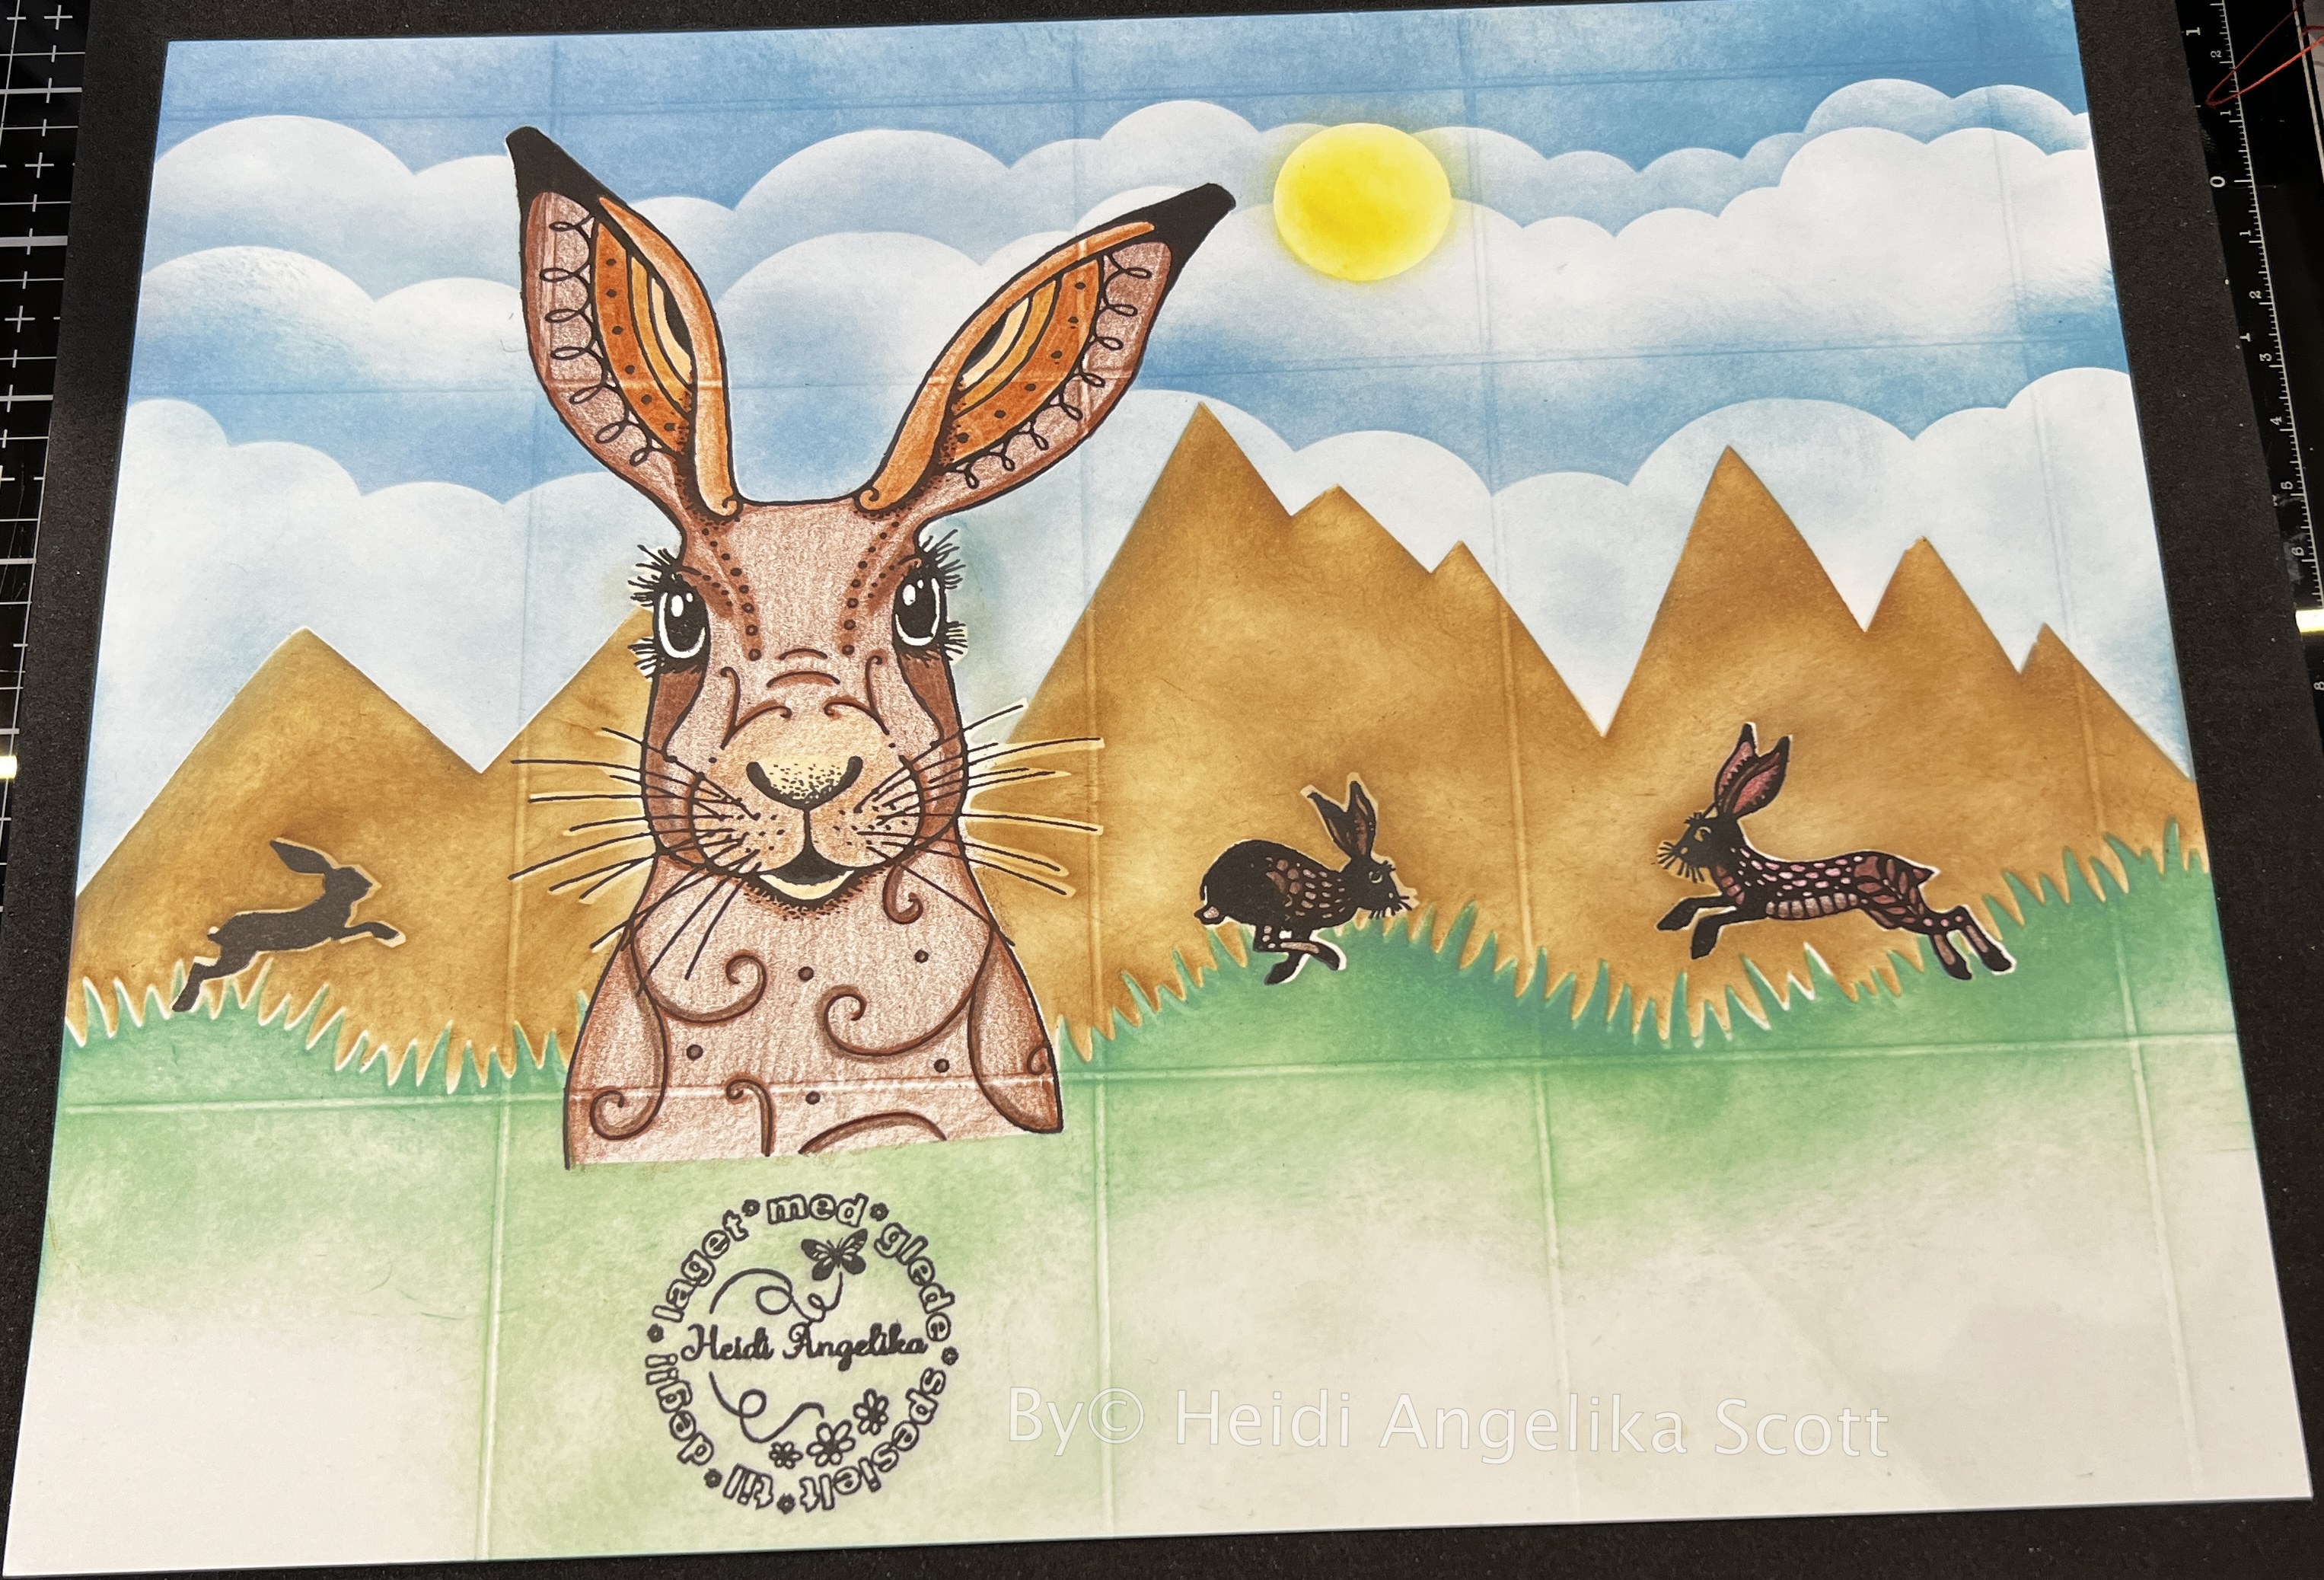
I had lots of fun this weekend making these two milk cartons! Planning the lay-out, stamping, masking, ink blending and coloring took quite a lot of time, but I enjoyed myself, which is what is important! And I actually love how they turned out☺️! Filled with chocolate, they will be a nice alternative to the more common candy-filled Easter Eggs.
There are tons of easy to adapt tutorials out there, and you can almost make it whatever size you want. I have made several Lidded Milk Cartons following one of The Paper Pixie´s easy to follow tutorials before. They are super cute, however, this time I wanted my cartons to be a little bigger, and I remembered that I had made one a while back, (you can see my blogpost about it here) crafting along with Sam Calcott on one of her Facebook lives. I used the same method of decorating on these two cartons, stamping an image, that I then masked, before ink blending my background. It is always so much fun to remove the masking and see the image pop out bright white amongst all the colors of the background! I then spent quite some time coloring in my main images.
Unfortunately I had forgotten that there was a small mistake in the live, when it comes to where to cut or not, so even though I love the results of my cartons, they were supposed to be whole/not cut at the top. Oh well, they work with the flaps, as well😃, and now I will most likely remember the next time I make one😉.
In their newest release, Lawn Fawn introduced something they call a platform pop-up, and if the shop I usually buy my Lawn Fawn products from hadn´t just closed, I would most definitely have bought these dies. As it is, I have no idea where to get my Lawn Fawn stamps and dies from any longer. I could of course buy them directly from Lawn Fawn, but as far I as I can see, they don´t charge the Norwegian VAT, which means I would get slapped with an extra sum when the merchandise go through Norwegian custums, in addition to most likely pretty high shipping costs. So, I will have to do a little looking around to see if anyone else offer Lawn Fawn here in Norway.
Anyway, to get to the point, since I don´t have the dies, I became really happy when I found a tutorial which shows how to make them, without using dies! I decided to take the time to watch through the tutorial to see if it was doable, and since it was, I bookmarked the tutorial, to make another day. A couple of days ago I decided to give it a try. I´m in the process of making two identical Easter Cards for my sisters, so since Easter is buzzing around in my head, I decided to go with an Easter themed card.
I made the card base, the platform, first, but then when it was time to decorate, I got stuck, as I most often do. Therefore I put it aside and continued with the cards for my sisters instead. The next day I pulled out some Easter stamps, my stamping platform and my alcohol markers to make some little tidbits that I could use for the decorations. It took forever! However, I ended up with more pieces than I would need, so there are possibilities for some more cards. I struggled a little to build the scene, and ended up regretting how I had placed the decorations, once I was done. I should have gone with the lowest decorations in the front. I didn´t change anything, however, as that most likely would have messed up my card. I did take note of not to do it again, though, so I guess you can say that I have learned from my mistake. I do think it is a really cute card, nonetheless🐰!
Back to the main card of the day, though. I decided I would go with papers fitting for a jungle themed scene, dove into my stash of Lawn Fawn cardstock and went with the color "Rainforest", a perfect color for a scene form the jungle. In addition, just to make it even more jungle, I looked through my Made to Surprise paper collection, which I know contains a 6"x6" jungle scenes paper pad. Made to Surprise is a co brand of Craftstash, who are the main sellers and producers of the brand. The designer of the brand, however, is Sam Calcott of Mixed Up Craft, of whom I have spoken of multiple times before. She has two main YouTube channels, one for Mixed Up Craft, and one for Made to Surprise. She is well worth following, as she posts tutorials for beautiful papercrafted items, cards, bags and boxes, on a regular basis. Just to finish my advertisement for Sam Calcott, I also should mention that she has a really popular Facebook page called Mixed up Crafters.
Back to my card😉.
As you probably can see, I left my jungle scene plan, and went with a forest scene instead. I did this when I tried to make my little scene with the jungle critters I have available, and I realized that they were somewhat too large to fit on a card like the one I was making. Luckily for me, Made to Surprise has a woodland collection(double slider woodland collection), as well, which I also am lucky enough to have bought😂. AND, I felt even more fortunate since I knew that I already had some pre-stamped, colored and cut woodland critters.
By then I had started thinking that I needed to show more clearly that my critters were in a forest, and I knew that I had seen platform pop up cards with an addition of a "wall-like" extention in the back of the card. The tutorial I had found on how to make a platform card, didn´t have this addition. I therefore decided to have a look at the actual die set on Lawn Fawn, to see what the extention looked like. I thought it looked easy enough to copy, so I decided to try. This is where I should just film how I did it, but I am not that quick and clever on my feet, that will have to be for another day😉, but I can write an explaination: I decided how tall I wanted my "wall" to be, 2 1/2", then I measured the back half of my card, 5 3/4" and cut a piece of cardstock slightly shorter, measuring 2 1/2" x 5 5/8". I marked with a pencil where the score lines on my card were; 1 3/4" and 4", before I scored and burnished. Looking at the "add-on-dies" I knew that I had to trim the upper hand corners, so I measured out the half-way mark of the height of the cardstock, 1 1/4" with pencil marks, and in addition I marked about 1/4" on the outside of either score line at the top, before drawing a line between the pencil marks that I then cut along, making sure I slightly rounded the corners. I then chose one of the woodland scenes form the Made to Surprise paper pad, and cut out a strip measuring 2 1/4" in height. I then measured between each score line, to get the right size for the layers; 2 x 1 1/2" and 1 x 2 1/8". I then laid the smaller pieces over the cardstock, and drew the outline on the back of the woodland paper. Then I cut about 1/8" on the inside of the pencil line, and glued everything in place. I attached the "wall" to the platform, gluing it on the inside of the border part of the card. And voila, I had something that looked like a forest. I have to mention that I have made a template for this add-on, should I decide to make more of these cards😉.
I cut out some grass, and glued the animals and the other decorations I had chosen, on to the grass, after first having tried out the placement. To finish off the card I stamped my sentiment onto a stamped and colored signpost and glued it to the very front of the card.
A really good thing about these cards is that they fold flat, the platform sort of collapses on itself and it fits into, in my case, a 5 1/2" x 6" envelope.
The initial card I made fits into an 4 1/4" (4 1/2") x 6" envelope.
Lastly, I want to give a shout-out to Ann Melvin from Positively Papercraft for posting the tutorial I followed to make the initial card. Below is a link to her tutorial. Just make sure you watch the whole video before making the card, as she makes a couple of mistakes, that she has chosen not to edit out of the video, and to prevent you from making the same mistakes, I advise you to look through the WHOLE making the card part of the tutorial before starting to make it yourself.
And hey; I am NOT affiliated with any of whom I have added links to. I just like adding links😂.
Today's post is basically an ode to my mom💞. I just talked to her on the phone and she said she was getting worried because I hadn't posted anything for a few days. So this post is for you, mom!! Thanks for caring about me in these crazy Corona days!!
Ok, this is another Pop Out Swing Card. A card that ended up challenging me on several levels, actually. I did at least learn a bit or two about covering up mistakes along the way, as I had no intention of giving up on this one.
I followed the measurements and descriptions on how to make a regular one of these, but as I had decided I wanted to try making it with a heart as a swing element, I had to do a couple of adjustments to the tabs that make the card swing. Then I stupidly enough waited until I had glued everything on before trying to cut a piece to put around the heart, this to try and give the front of the card a bit more stability. I now know that I needed to do that before gluing everything together. I diet a piece that I thought I had measured right, but when I tried to glue it on it wasn't really a good fit. I then started to try to enlarging the heart part of it, but ended up making it worse than it initially had been. In the end I decided to cut the piece in half and go with just half a heart on the front card base. I thought it looked ok, but realized that I had a glue mess left where i had cut the striped paper. How was I going to cover that up? I tried with beads, but didn't like how it looked and decided to check if I had any embossing powder that was close in color to the Lawn Fawn Rainforest Card Stock (lawnfawn.com) I had used, and luckily I did. SO I ended up heat embossing the part of the front which didn't have striped paper on it. It came out ok enough, I think. By the way, the patterned paper I have used is Maja Design´s (majadesign.nu) Denim and Friends - Heartbreaker. I love, love, love Maja Design´s patterned paper series!!
Finished the card off with an matching envelope. The card measures 5 1/2" x 5 1/2" or just under 14cm x 14cm, and the envelope is made to fit that size.
A while back I decided to teach myself how to make Reveal Wheel Cards. I had seen many really cute cards both on Pinterest and on Facebook, and one of the FB card making groups I follow has interactive cards as their January challenge. So instead of just making shaker cards, I decided to try something new. In order to do this I needed some new dies and I had an inkling that one of the online craft stores I use, s-craft.no would have them. Which they did! I ordered the "Lawn Fawn Reveal Wheel Custom Craft Dies", along with a bunch of "add-ons", and a few days later I received them in the mail.
I started by going to youtube to see if I could find some how-to videos, which turned out to be too much of a success as there were way too many videos to choose from. I settled on a video by Jennifer McGuire, my go-to card making guru, and found a video in which she showed the process in an understandable and clear way. https://youtu.be/0N7XzA5uf3I
I didn't watch the whole video right away, but watched as I tried to follow along. I had cheated a bit and precut a few of the card bases and stamped them already, so when I saw how Jennifer stamped her card and then masked what she had stamped in order to create a background for her image, I got lost as I don't have masking paper. I realized much much later that I do indeed have some masking paper I could have used. Oh well, I can use that on a later card😌.
So now I had stamped my images on the card fronts, and was faced with the problem of creating backgrounds on the cards. I decided to use some of my watercolor pencils to simply creating a blue sky and a green grass backdrop, not worrying too much that my paper would get warped. I created three really cute porcupine motif card bases.
Then I colored in my simple backgrounds, added water and warped the paper. I used "Perfect Colouring Paper" as I was going to color in my critters with Copic Markers and this is paper that is designed to withstand the alcohol markers without bleeding. This does, however, not mean that it doesn't buckle when you put water on it. Ultimately I don't think it will matter, as I can straighten them out by either weighing them down or even use an iron on them.
After doing the backgrounds I colored them in.
I then started to assemble the cards. I had created the back for the cards by putting the wheel on with a small brad.
Using the tip of how you should not see any of the indented lines in your little reveal window and in the cut-out where the turning of the wheel happens, I was able to assemble the mechanism quite easily. It was when I went to stamp in my little reveal sentiments on the wheel I started having issues. Jennifer McGuire shared a tip she had learnt of marking the wheel at 12, 3, 6 and 9 o'clock, and then drawing in the shape of the window with pencil in the opening of the wheel, a tip I did not have too much success with, and I actually ended up ruining my first couple of wheels because I stamped in the wrong places. I went ahead and assembled the top part of my card to the backing anyway, and realized that the front REALLY needs to be flattened out before being adhered to the back part of the card. The result is that I have my little sentiments either too high up, too much to the left or too much to the right in the window. I will probably end up trying to force my card apart to try and salvage the front.
Anyway, I decided to put the porcupine cards to the side and start a completely new card using a different technique for the background. So I went ahead and used distress oxide inks and a stencil to daub in the sky and some ground. Then I just slayed out my stamps in the places that I wanted to have the image.
This was when I understood why Jennifer McGuire stamped and then masked her image BEFORE making the background. Although I wasn't faced with too much of a problem, as the solution of course was to die cut the motives and then adhering them to the background after I had colored them in. If I hadn't used a stamps I had coordinating dies to, I could have fussy-cut the motives out.
I was able to stamp the sentiments on in an acceptable way, and assembled the card to finish it. I added some purple Wink of Stella on the butterflies and some clear Wink of Stella on the deer.
After all that work and brain twisting, I was rather happy with how the card came out. Although I have to mention that I wasn't able to assemble the card totally without mishaps!! (I have realized that I am an expert at ruining my cards with tiny mishaps like stamping mistakes or fingerprints, or crooked assembly....if there is something that can go wrong with a card, you can be sure that it has happened to me!) This time I managed to be a bit impatient and put my thumb nail onto the arrow I had just printed to show which way to turn the wheel, and of course I managed to get an imprint of my nail on a white part of my card. I tried to erase it, but my erasers aren't ment for erasing ink, so I ended up removing it another way.