Valentines Day is closing in, and I have been busy creating love themed cards lately. They are not made with your typical Valentines Day colors, pink and red, but I have chosen to use a different color palette.
The card I wanted to share today is a shaker card. I chose to use a background I created some months ago, when I made a distress oxide "watercolor" by stamping ink on my Tim Holtz Glass Media Mat (
rangerink.com,
bikuben.com), and spraying water on the ink stain. I then put my card stock face down into the watery ink until it was completely covered with the ink/water mix, and then I misted it with Perfect Pearl Mist (Perfect Pearls also by Ranger, mixed with water) to get a glittery look. I debated with myself which die I was going to use, but ended up with a really beautiful die that is used to cut out part of the card front.
 |
The die I used, is an unbranded die I have bought on wish.com.
I held the card front up against both black and blue, and decided to go with a black card. I also decided that the die I had used would look good as a shaker card. As always when I make cards I find myself having problems along the way, and this card was no exception. The problem arose when I was going to close the shaker card, as I had the shaker filler inside the front of the card, and couldn't use my regular method of centering the front to the actual card. I ended up winging it, and of course it got a little crooked. I die-cut the word love three times out of black cards stock, stacked, and glued them together for some dimension, put some glossy accents (rangerink.com) on the black and let it dry before adhering it onto my card. I finished the card off with some enamel dots from the KSCRAFT Store at AliExpress.com.
|
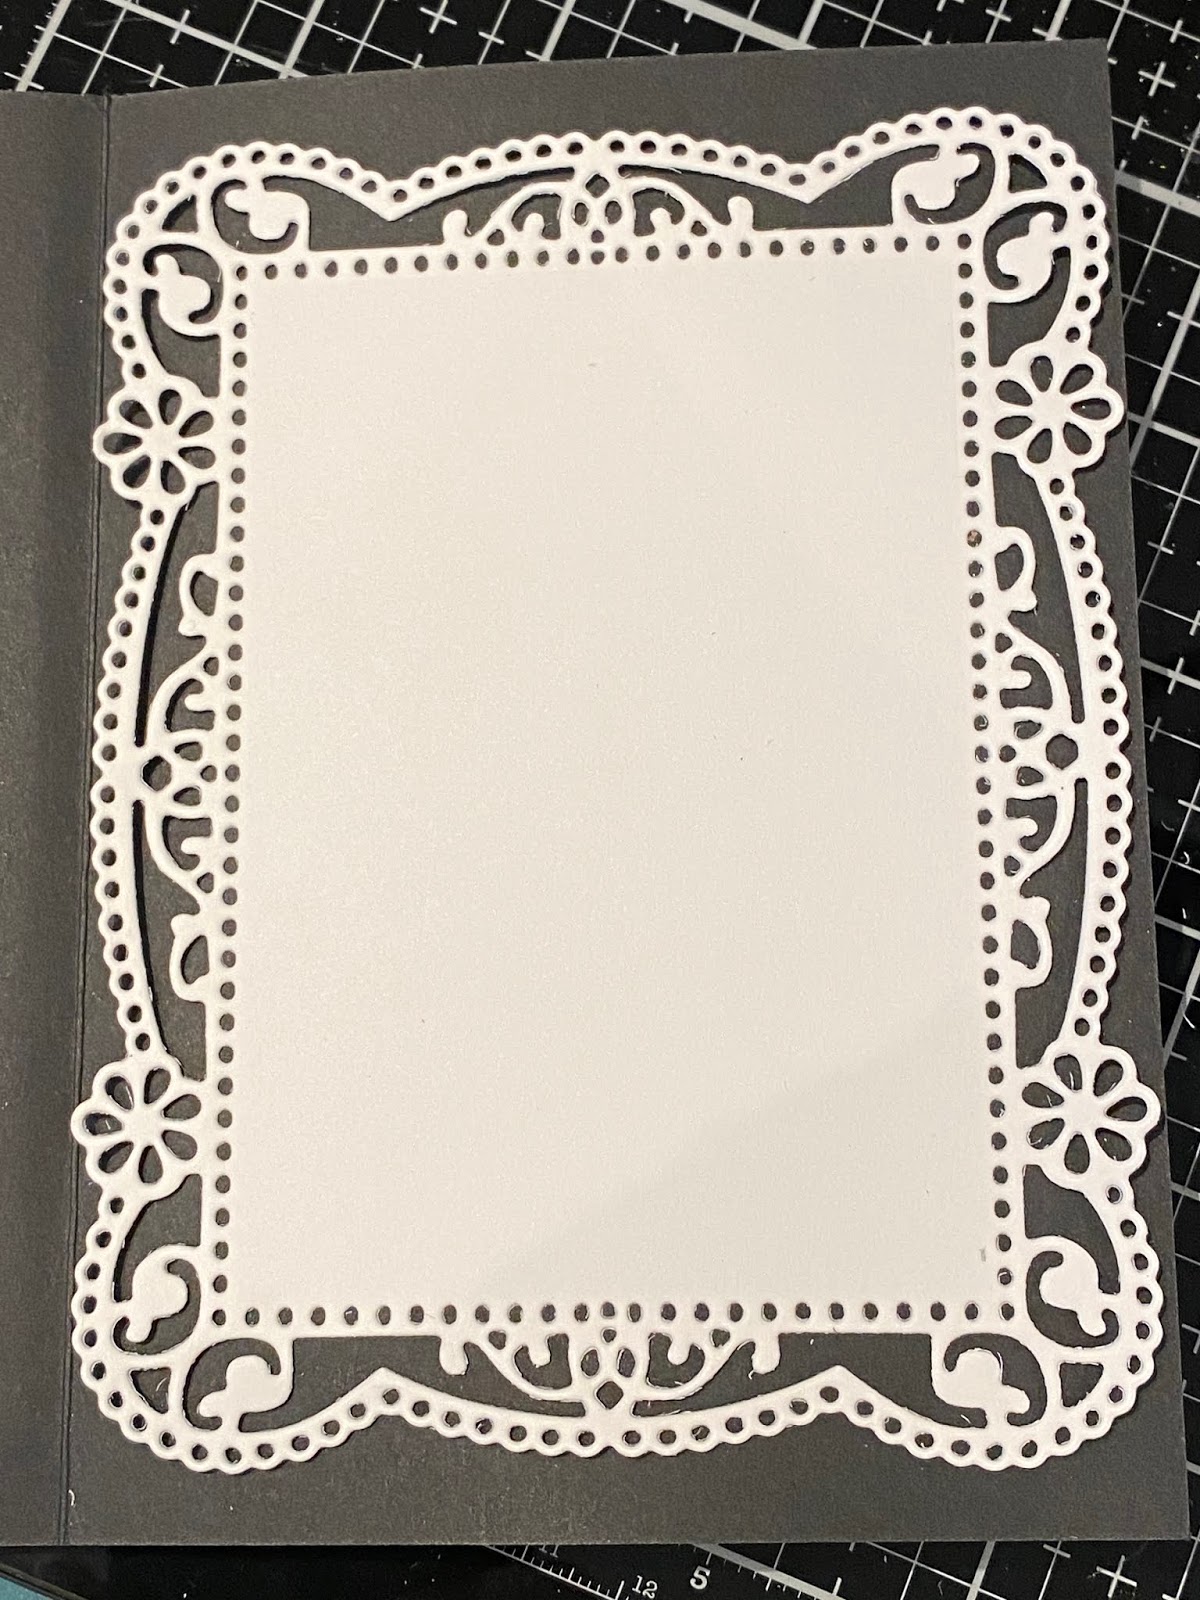
Since the card is black, I wanted to make it a little easier to write inside it, so I die-cut out an intricate frame without removing the middle part of it.
 |
| With an intricate and decorative white die-cut inside the card, it is a lot easier to write a message for someone. |