Just a quick post today, showing another fun fold card. This is a so-called Buckle Fold Card, that I made after having watched Sam Calcott of mixedupcraft.com make one. Mine differs from hers in that I have chosen to use a small magnet for the closing mechanism on the card, while she has cut a slit into the front of the card, where the buckle is supposed to be tucked in.
This was another fun card to make, one that I will make more of for sure!
I have included Mixed Up Craft´s YouTube tutorial here:
My mother's birthday is tomorrow, but we, the closest family was invited to celebrate it with her a few days early. We all chipped in on a gift for her, and I got the task of creating a card for the occasion. I had made a couple of cards that with her in mind already, but when I saw Sam Calcott from Mixedupcraft.com make this one, I had to give it a try. Sam created her card with a layered flower stamp set from Altenew, which of course I don't have, so I had a search through my stamps as I thought I remembered having a layering rose 🌹 set. Which I had! And what better to make for mum than a card with her favorite color of roses, yellow!
The card in itself is really easy to make, it is the stamping that takes time. A layered stamp has usually at least three layers of stamps where one goes on top of the next, starting with the lightest shade of color. So, a lot of stamping, but well worth it in the end, as it creates a flower that has depth.
In order for there to be room to write a message for the recipient, you make a "stick-in" that you also decorate with flowers. These flowers will sit a little higher than the flowers that are attached to the flower pot, thus adding height to the card.
This was a very fun card to make, that I most likely will make more of in the future!
I made this Triple Diamond Gatefold Card after seeing a live FB craft along with Mixed Up Crafts Sam Calcott. I didn't have the same stamps and embossing folders that she had, so instead I used some of the stamps, as well as an embossing folder, from her lovely collection "Made To Surprise".
Meet the Geri the giraffe! Along with Horace the Horse, Geri has quickly turned in to Sam's followers favorites! And you would have to be made of stone not to smile when you see the two!
I have used watercolor pencils to color in the images, and distress oxide inks to color the embossed papers.
There is only one giraffe stamp of Geri, so in order to have two of them facing each other, I have used mirror stamping. There are many tutorials on how to do mirror stamping, but here I have chosen Jennifer McGuire´s tutorial on both mirror stamping AND mirror die cutting:
The Triple Diamond GateFold is a Fun Fold card, and who better to link to than the queen of Fun Fold Cards herself, Sam Calcott of Mixed Up Craft, when wanting to show you a tutorial of the technique!
The other day my sister, Marianne, messaged me and asked if I had any cards that were suitable for a house warming. I didn't, so I said I would make her one tailored to her needs. She wanted a card for someone who has just moved into a house in the woods, and who has several huskies.
I had an idea for the card itself. I wanted to include some dog/husky related papers, which turned into giving me a buck-load of trouble, as I don't have ANY papers with dogs, paw prints or anything dog related at all. SO, I started searching the internet to see if I could find some suitable freebies. However, everything costed money, and you had to sign up to a program with a monthly cost. I found many cute husky images, but almost all of them were full of watermarks, so that people wouldn't steal them, but pay to access them. I did sign up with a page, but got really irritated when the pictures I wanted wouldn't download because of there being some error with them.
Then I came across the cutie that I have used, free of charge, printable without watermark, and I was very relieved!😂 However, my job wasn't done by far....I still didn't have any background papers. I have found good patterned paper for free via Pinterest before, so I went there and searched until I found a cute paper pack. Yes it cost a little, but I was sick of searching, so I purchased it and decided which papers to use, and got crafting.
To meet my sisters brief for the card, I needed to include: house in the woods and huskies. I knew I had the husky part all taken care of, but I had no idea how to include the woods. Then I remembered that I have some stamps of different types of forests in my stash. I dug them out and luckily the one I wanted fit perfectly on the speech bubble I wanted to stamp my sentiment on. So, I pulled out some distress oxide ink, bundled sage, as I wanted a toned down impression, and printed it onto my speech bubble. After letting it dry for a bit, I stamped my sentiment, "Gratulerer med nytt hjem" (Congratulations with a new home) in Versafine Black Pigment Ink on top of my forest. Even though most people probably wouldn't understand why there was a forest under the sentiment, I believed that the recipient of the card, and my sister would get it.😃
The sentiment with the stamped forest in the background.
Since this was a wiper card, I needed a pop up function. Initially I had wanted a husky to pup up, and I tried printing out several, but didn't find any I liked that didn't have a watermark across the front of it. Therefore I decided to have a bouquet of flowers popping up instead. I think I have mentioned Mixed Up Crafts Sam Calcott and how she recently had her collection of stamps, dies, embossing folders and paper pads released? Anyway, I know she has a bouquet of tulips and a hand to hold them in one of her stamp sets, so I thought they would be fitting as a pop up element. I did initially want to make this card a couple Wiper Card, but decided to ditch the second wiper mechanism when I ran into problems with it when trying to attach it😉. By now I was starting to get very pleased with the outcome of the card, so I decided enough was enough😂!
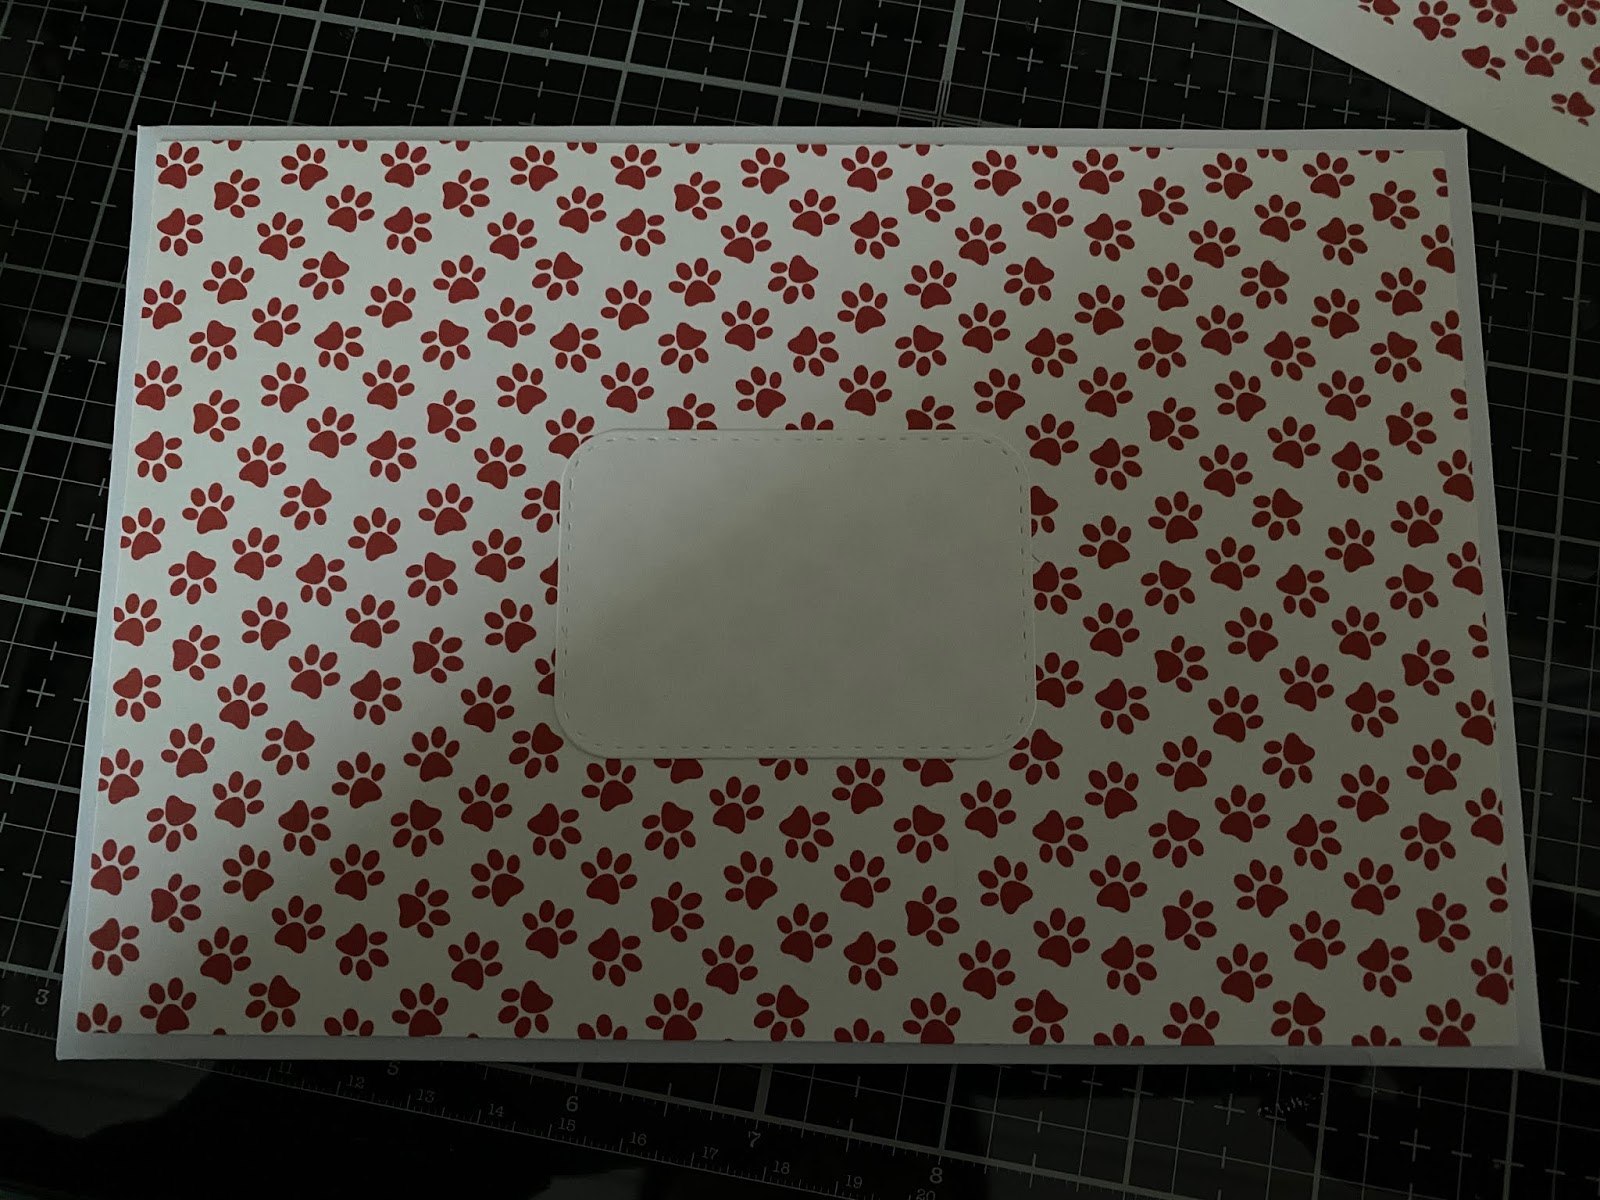
The only thing left to do was to make an envelope that matched.
I have since delivering the card to my sister, gotten a message saying that the recipient liked the card....puh!😂
And here is Sam Calcott making a Double Z Fold with a Double Wiper Card Mechanism!
Todays post were two fairly quick cards from the other day, both made as a result of a Live Craft along with Sam Calcott from Mixed Up Craft. She was making one colored cards, and since I came a bit late into the live, I decided I wouldn't craft along with her. So I ended up pulling out a new frame die I had just received, and started making a shaker card with it, It has 5 compartments in it that just screams out shaker card to me😂! So, while others were making their versions of one colored cards, I stuck to making my shaker. I die cut my frame in foam and glued it on the background, before filling four compartments with different colored glass jewels and the largest compartment with tiny butterflies. I then closed it up with acetate and glued on the frame that I had die cut in purple. Was a bit irritated when I saw that the foam die cut I had used was a bit larger than the card stock die cut, as the foam had stretched a bit during the die cutting process. Oh well, I guess I will have to live with it. Lastly I stamped a sentiment on some purple card stock, die cut some butterflies in a lighter purple, stuck them on vellum and decorated with Nuvo Drops.
Shaker card using two different purple cards stocks.
Afterwards however, I decided to make my version of a one colored card.
I chose the distress oxide ink color wilted violet, and varied the pressure of my ink blending to create different shades of purple. I had a ribbon that was approximately the same purple which I added, along with two butterflies that I had die cut out of ink blended card stock. These were glued on top of vellum that had a nice shimmer. I stamped my sentiment on white, also using the same distress oxide Wilted Violet ink. Last but not least, I finished the card off with some Nuvo Drops, which did not work as they usually do, as they didn't collapse on themselves and dried in peaks instead😢.
All in all I am quite pleased with both my purple butterfly cards🦋💜!
Meet Horace the Horse!😍 Sam Calcott from Mixed Up Craft, www.mixedupcraft.com, recently released her own collection of stamps, dies, papers and embossing folders, Made To Surprise. Sam's devoted crafting fans, and Sam herself, quickly made Horace the Horse and Geri the Giraffe their absolute favorites in the collection. They have also become mine.
Geri the Giraffe😁
So when I went to make another Impossible Box, the choice stood between Horace and Geri when it came to what to decorate the box with. This time the choice fell on Horace😉. But I have colored and die cut Geri as well, so he/she(?) will end up on something else in the near future!
The first time I used any of the stamps, were to decorate another Impossible Box. I have posted a variety of Impossible Boxes before, check out these previous blogposts: Impossible Gift Boxes and Impossible Popper Boxes, to see how it back then was the Paper Pixie from thepaperpixie.com who inspired me to make them.
An Impossible Box and an Impossible Popper Box á la the Paper Pixie.
Sam Calcott had gotten many requests to share how to make an Impossible Box in a Facebook Live, and she finally did last week. She made very different sizes then the ones I had made before, so I was inspired to make yet another Impossible Box. Here is the tutorial she has posted on YouTube:
Thank You
For all that you do and all that you are.
I am really behind on my blogging. I have been so busy setting up a new net site, that I haven't found much time to create, let alone blog. However, today I finally published my site, papercraftsbyheidiangelika.com, so now I can concentrate on doing other things. So, now I will try and catch up on updating my blog.
Today's post is a so-called Flip Flap Card. I guess I should write a tribute to Sam Calcott and her wonderful blog mixedupcraft.com, cause more often than not, she is the inspiration for my paper crafting. This card she did on a Live craft-along on Facebook last week, and I try to at least sit and watch and listen if I don't craft-along. This Live I crafted along to, though. I won't claim that I am able to follow her pace, but at least I finished the card not long after the Live. I had a few mishaps along the way, but I was able to cover them up so they won't be too noticeable to an untrained eye😂!
I am fairly happy with the end result of this card, all I have to do now is make an envelope for it, and it is good to be sent out.
Usually after Sam has had a Live, she makes a youtube tutorial and a blogpost in which she shows an edited and much shorter version of how to make the item she made during the Live. Here is her YouTube video explaining how to make a flip flap Card: