Tuesday, April 7, 2020

School Satchel Gift Bag

School Satchel Gift Bag
Out of my comfort zone?? Just a little๐Ÿ˜‰! This is yet another mixedupcrafts.com project.
I doubt that I will make very many of these, don't get me wrong, they are fun to make, and I think the end result is stunning, I don't, however, think of a gift bag when I see it. So, note to friends and family: Don't expect to get your Christmas gifts in a gift bag like this!!๐Ÿ˜‚๐Ÿ˜‚๐Ÿ˜‚

In order to make this satchel you need several sheets of 12"x12" paper. Until recently I didn't have much paper of that size, but I have bought quite a bit of it lately. I decided to use some of my one-colored sheets, some that has a nice texture to it, and of course I wanted to use my purple ones. I cut and scored all the pieces I needed, it was only when I started to burnish the score lines that I realized the I had used the wrong type of paper.๐Ÿ˜” Many of my score lines cracked and I was left with several straight rips in the paper. As I didn't want to waste the paper, though, I continued making the satchel. I guess I will count it as my trial-and-error version, as it could not hold anything with any weight or bulk to it, the way it is now. I have promised myself though, that I will make , at least, one more satchel like this one, using more suitable papers. NOTE TO SELF: Do not make this project with "My Colors Cardstock" with Canvas texture!๐Ÿ˜

I am, however, really pleased with the straps and buckles. The straps were made using my brand new Brother Scan´n Cut, and for the buckles I die cut circles and constructed them to look like buckles.

Here is Sam Calcott´s School Satchel tutorial:


Saturday, April 4, 2020

Triple Panel Concertina Cards

Triple Panel Concertina Card, Dance
folds to 5"x7"
Triple Panel Concertina Card, pink Love
folds to 6"x6"
These two cards were made while watching Sam Calcott from mixedupcrafts.com do a FaceBook live. I usually prefer to watch the tutorials she makes after her FB lives, so that I can stop and rewind when I need to, but this time I decided craft along. It must be said that I finished both cards after the live was over, as I (as always) struggle with choosing papers and sentiments etc. However, I got there in the end. This card is very similar to the Double Concertina Gatefold card that I posted in Concertina Gatefold Card, it is however just made out of one piece of card stock, as supposed to two.
I finished off the cards by making matching envelopes for both of them.

Watch Sam's tutorial here:


Thursday, April 2, 2020

"Just a Note" Card Gift Box

Card Gift Box
Card Gift Box, open
Card Gift Box, open
with belly-band above
All the cards
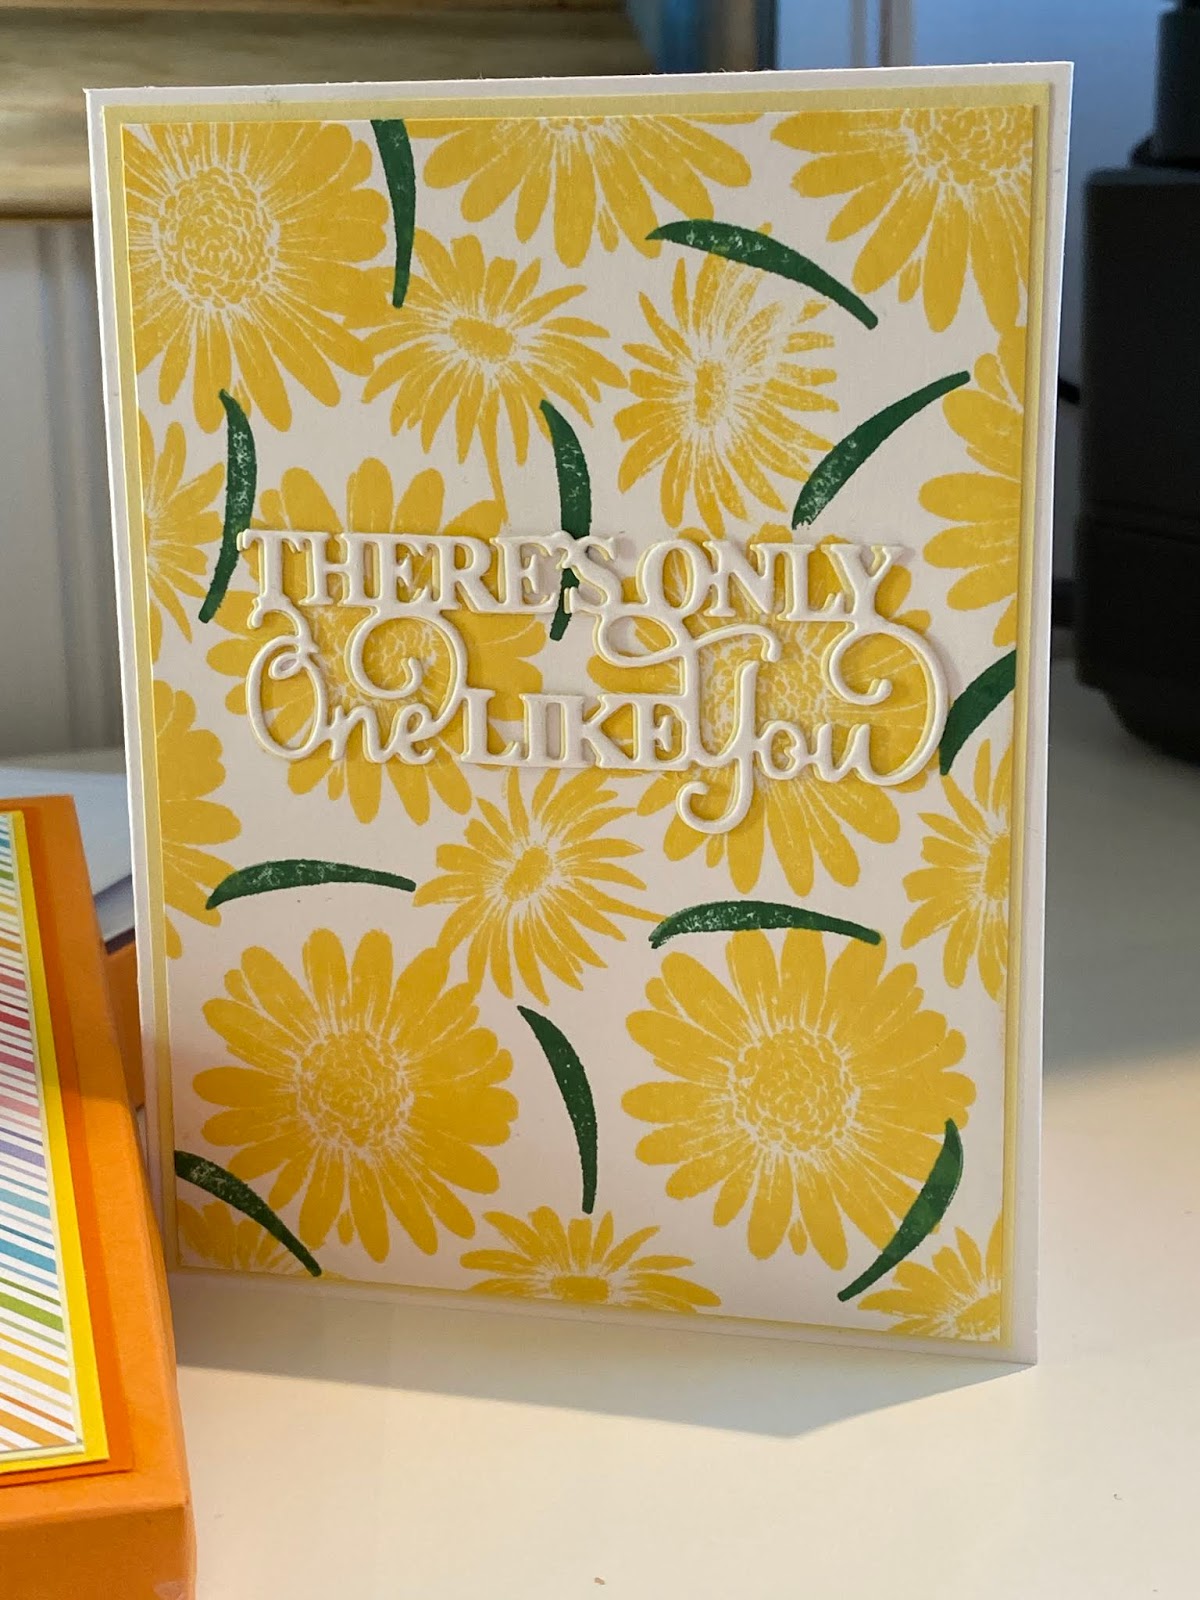
Today's post features another Card Gift Box (card measurements: 4 1/8"x 5 1/2" - 10,5cm x 14cm)! All the cards included in the set say "There's Only One Like You" on them and I have called the set "Just a Note". The box is inspired by one of the recent thepaperpixie.com´s tutorials (see her tutorial at the bottom of this post). 
I have made a Card Gift Box before as well, shared in a post called Smil, but that was a totally different looking box, with different sized cards and envelopes (card measurements: 5" x 4 1/4" - ca. 12,5 x 10,5cm).
The Card Gift Boxes are part of my Love Box Series (The Love Box Series), which I am trying to expand over time. 
I thought that Gift Boxes with blank cards would be a great gift for someone in these strenuous times in which we don't get to visit with our friends and family and other loved ones. 

Would YOU like a Card Gift Box? Feel free to get in touch with me to get one! OR, make one yourself!!๐Ÿ˜ƒ
There's Only One Like You, Orange
There's Only One Like You, Yellow

There's Only One Like You, Bluish/Grey
There's Only One Like You, Grape Juice
There's Only One Like You, Passion Flower
There's Only One Like You, Raspberry Jam
There's Only One Like You, Stone Wash
There's Only One Like You, Peacock
 Check out the Paper Pixie´s YouTube tutorial on how to make the box!!๐Ÿ˜Š


Tuesday, March 31, 2020

Another Pop Out Swing Card

Pop Out Swing Card
Today's post is basically an ode to my mom๐Ÿ’ž. I just talked to her on the phone and she said she was getting worried because I hadn't posted anything for a few days. So this post is for you, mom!! Thanks for caring about me in these crazy Corona days!!

Ok, this is another Pop Out Swing Card. A card that ended up challenging me on several levels, actually. I did at least learn a bit or two about covering up mistakes along the way, as I had no intention of giving up on this one. 

I followed the measurements and descriptions on how to make a regular one of these, but as I had decided I wanted to try making it with a heart as a swing element, I had to do a couple of adjustments to the tabs that make the card swing. Then I stupidly enough waited until I had glued everything on before trying to cut a piece to put around the heart, this to try and give the front of the card a bit more stability. I now know that I needed to do that before gluing everything together. I diet a piece that I thought I had measured right, but when I tried to glue it on it wasn't really a good fit. I then started to try to enlarging the heart part of it, but ended up making it worse than it initially had been. In the end I decided to cut the piece in half and go with just half a heart on the front card base. I thought it looked ok, but realized that I had a glue mess left where i had cut the striped paper. How was I going to cover that up? I tried with beads, but didn't like how it looked and decided to check if I had any embossing powder that was close in color to the Lawn Fawn Rainforest Card Stock (lawnfawn.com) I had used, and luckily I did. SO I ended up heat embossing the part of the front which didn't have striped paper on it. It came out ok enough, I think. By the way, the patterned paper I have used is Maja Design´s (majadesign.nu) Denim and Friends - Heartbreaker. I love, love, love Maja Design´s patterned paper series!!

Finished the card off with an matching envelope. The card measures 5 1/2" x 5 1/2" or just under 14cm x 14cm, and the envelope is made to fit that size.

Pop Out Swing Card, rainforest - Friends forever!

Pop Out Swing Card, opened.


Saturday, March 28, 2020

Pop Out Swing Card

Pop Out Swing Card
Today's share is a Pop Out Swing Card. The card is fairly quick and easy to make, and it has a nice "swing out" effect. The card has been made by many people, however, I first saw it when I was watching Sam Calcott from mixedupcraft.com, do a FB live yesterday. She has since posted this tutorial on how to make it: https://youtu.be/BlSMhYNM4xE
In order to use the card stock I already have, I chose to make my card a little smaller, 5 1/2"x5 1/2", instead of 6"x6", than Sam´s.
I made a quick envelope to match the colors and size of the card.

Opened card

Thursday, March 26, 2020

Swinging Tent Fold Card


Swinging Tent Fold Card
Today's share is another Sam Calcott, mixedupcrafts.com, idea. The card is not to open, as the "pages" of the card are connected by a "tent-like" piece of paper which allows the card to displayed.

A side-view of the card, showing the "tent-like" piece of card stock in the middle.

There are plenty of room on the back of the card, to write or stamp a message.
As the title of the card promises, there is a swinging element to it, shown in the round window at the front of the card.
This little video is showing the swinging element.

Like I mentioned at the top of this post, this is a card posted by mixedupcrafts.com. Head on over to her blog to see her beautiful versions of the card, or watch a tutorial of how she makes it here:


Wednesday, March 25, 2020

Swivel Lid Gift Boxes

Swivel Lid Gift Box, yellows
Swivel Lid Gift Box, pinks
 Yesterday's project was another one that I have been wanting to try for a while, but that I didn't have the right flower dies to do in it's original form, the in my mind beautiful Swivel Lid Gift Box. This is another Mixed Up Crafts project that can be found on mixedupcrafts.com. Instead of me writing a lot about how to do it, go to Sam Calcott´s video tutorial on youtube to see how an expert does it๐Ÿ˜Š https://youtu.be/659RGVnXd0w


The box measure 3 1/4" x 3 1/4", or 9,5cmx9,5cm, however, since it has a triangular piece in one of the corners, the actual item you put in the box, must be somewhat smaller.

Here you can see the triangular piece in the upper left corner.

My boxes turned out ok, but I found that I had some stability issues with them. They are pretty top heavy, and I had to enforce the sunflower itself, as I had used way too flimsy card stock on the yellow one, and it wouldn't stay out to the side when I opened it. So I cut extra pieces to glue on the first layer to make the bottom not just droop down. You also have to put something into the box in order for it to not tip over when you open it.
When there is something in the box,
though,
the box has counter-weight and stands fine.


I had to put something underneath the sunflower,
in order for the box not to tip over when the box is empty.


Partially open box

Sideview

Sideview
However, all in all, I love how these boxes turned out, though, and I will most likely try to resize them so that I can use a smaller topper.
Thanks, Sam Calcott of Mixed Up Crafts!


Easy Fold-Over Cards

Lately I have been hooked on making a simple fold-over card, that you can easily make into a gift card/tag-pocket card. Once again...